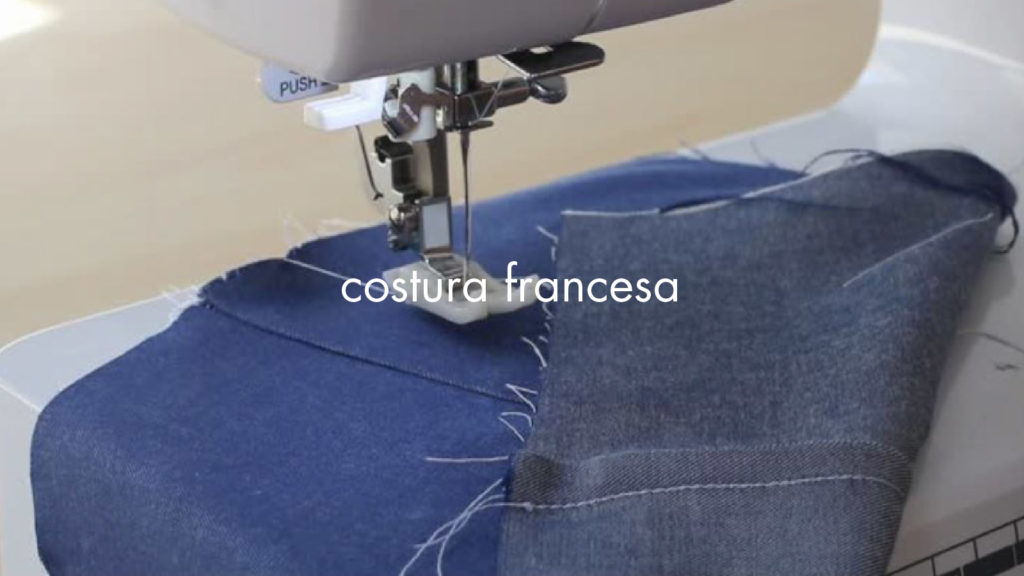
In this new tutorial I am going to explain step by step how to sew a French seam. This seam is widely used in transparent fabrics because the seam allowance is visible on the outside of the garment and making a zig zag or overlock would not be the most appropriate, although it is not prohibited. The French seam hides the ugly margin and at the same time prevents the fabric from fraying. But you can also use this seam in the rest of the fabrics when what you are looking for is a quality finish on your garment or you want to do without putting a bias bias or finishing the seams with zig zag or overlock. There it will depend on the technique that you most want to use.
This seam is done in two steps. A first seam with the wrong sides of the fabric together at 0.2 mm. approximately and a second step joining this time the rights of the fabric and makinga seam about 0.3 mm about the margin. The millimeters you leave will depend on how small or large you want the seam to be. It is preferable that it be small because it looks much better but it is not a condition and it will also depend on the thickness of the fabric you use. I recommend that when you make the second seam, you iron the suede fabric beforehand.
One thing that you should keep in mind because it has happened to me many times and it is very annoying is that when you make the second seam, make sure that you give it more margin than the first. If you don't do it or if you hurry too much, part of the seam allowance will be visible on the right side of the fabric. As you sew with your fingers, you will be able to feel the thickness of the fabric and make sure that you are not stepping on the margin when you are doing the second seam.
Si quieres practicar este tipo de costuras con un proyecto real aquí te dejo el enlace del patrón de la bolsa-estuche auxiliar Mariona.
 FOLLOW ME
0 Comments
Leave A Comment